TOC
随着 HTTPS 的越来越普及,现在绝大数的 WEB 网站已经支持了全站 HTTPS,来防止网络攻击者观察或注入页面内容等,这里介绍一种在本地生成 TLS 证书的工具: mkcert
现在开发者只用 HTTP 协议进行相关开发工作就会暴露一个问题:more and more browser features are being made available only to secure origins, and testing with HTTP hides any mixed content issues that can break a production HTTPS website
而 mkcert 就是这样一种工具,它可以在本地生成浏览器信任的本地 https 证书,这样开发人员完全可以按照 https 的方式进行相关开发工作,而且它不需要单独配置,只需几个命令就可以搞定本地 https。
需要说明的是:
Mkcert 不会生成自签名证书,而是由我们自己机器上在运行
mkcert -install时自动配置为信任的证书签署的,因此,当浏览器加载由 mkcert 实例生成的证书时,它将显示为安全受信的。
安装 mkcert 工具
安装 mkcert 需要根据我们自己的机器的实际情况选择适合我们的安装方式。例如,本次用来演示的机器是 MAC,所以这里我选择用 homebrew 工具进行安装,其他安装方式可以参考: mkcert installation文档内容。
➜ brew install mkcert
➜ brew install nss   # if you use Firefox
生成证书
Mkcert 安装完成后,就可以生成相关证书及密钥了,具体过程如下:
➜ mkcert -install
Created a new local CA at "/Users/filippo/Library/Application Support/mkcert" 💥
The local CA is now installed in the system trust store! ⚡️
The local CA is now installed in the Firefox trust store (requires restart)! 🦊
为了便于管理,建议在单独目录下生成本地证书及密钥:
➜ mkdir /opt/certs
➜ mkcert localhost 127.0.0.1
Using the local CA at "/Users/qingclass/Library/Application Support/mkcert" ✨

Created a new certificate valid for the following names 📜
 - "localhost"
 - "127.0.0.1"

The certificate is at "./localhost+1.pem" and the key at "./localhost+1-key.pem" ✅
这里为了方便只生成针对
localhost及127.0.0.1的证书,其他域名证书类似,可以参考下面的内容生成其他证书
➜ mkcert example.com "*.example.org" myapp.dev localhost 127.0.0.1 ::1
检查生成的证书
证书生成后,需要确认一下证书的生成情况:
➜ cd /opt/certs
➜ ls
localhost+1-key.pem localhost+1.pem
可以看到,生成了证书及密钥,现在我们只需要将生成的证书及密钥配置到我们的 web 应用中就可以实现本地受信的 https 了
测试证书可用性
为了方便测试,这里使用 docker 启动一个 nginx 的容器进行 https 配置。
首先,需要准备一个 nginx 开启 https 的配置文件 default.conf:
server {
    listen       80;
    listen       443 ssl;
    ssl on;
    server_name  localhost;
    access_log  /var/log/nginx/host.access.log  main;

    location / {
        root   /usr/share/nginx/html;
        index  index.html index.htm;
    }

    ssl_certificate   /root/localhost+1.pem;
    ssl_certificate_key /root/localhost+1-key.pem;

    error_page   500 502 503 504  /50x.html;
    location = /50x.html {
        root   /usr/share/nginx/html;
    }
}
启动容器的时候将此配置文件挂载到容器的 /etc/nginx/conf.d/default.conf即可,上述的 80端口可能在访问时报错,可以忽略,我们这里只是讨论 https
同时启动容器的时候还需要将上述生成的本地 https 证书及密钥挂载到容器的指定位置,我这里容器内配置的路径是:
ssl_certificate   /root/localhost+1.pem;
ssl_certificate_key /root/localhost+1-key.pem;
梳理完成后就可以启动 nginx 容器了,具体命令如下:
➜ docker run -d -p 8080:80 -p 8443:443 \
-v ~/office/conf/default.conf:/etc/nginx/conf.d/default.conf \
-v ~/office/mkcert/localhost+1-key.pem:/root/localhost+1-key.pem \
-v ~/office/mkcert/localhost+1.pem:/root/localhost+1.pem \
nginx:alpine
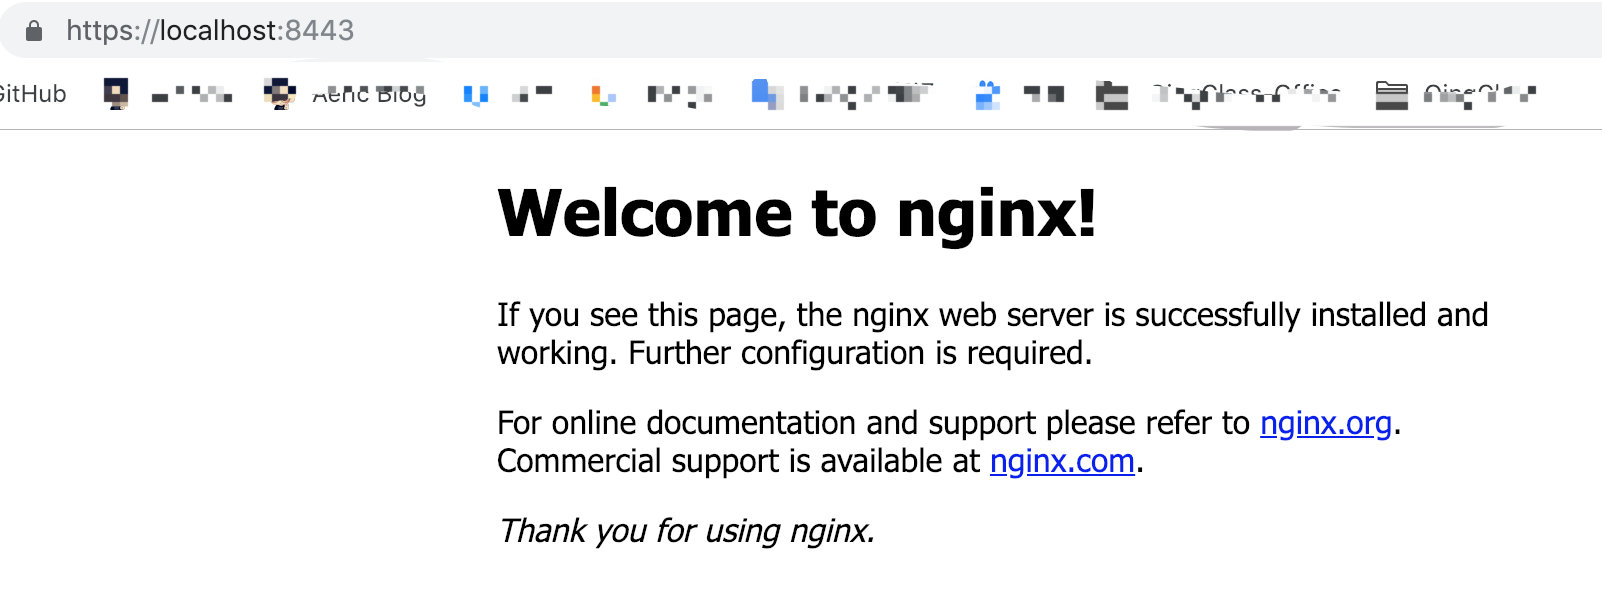
容器启动后就可以通过浏览器访问 https://localhost:8443来测试刚才生成的 https 证书是否可以被浏览器信任。
测试结果如下图所示:
chrome浏览器:
Fire fox浏览器:
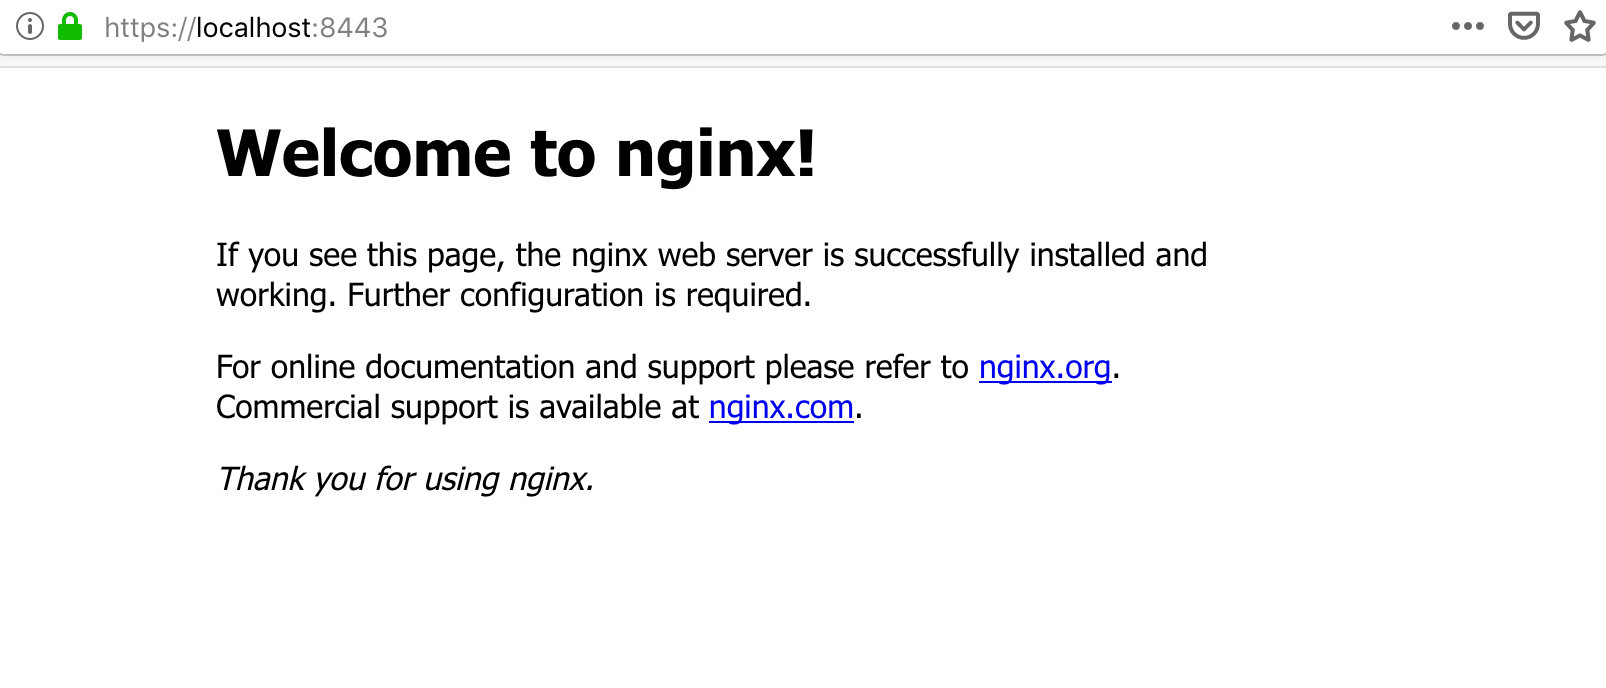
经过测试可以看到之前我们生成的 https 证书及密钥起作用了,之后我们就可以愉快的玩耍了,哈哈。
comments powered by Disqus